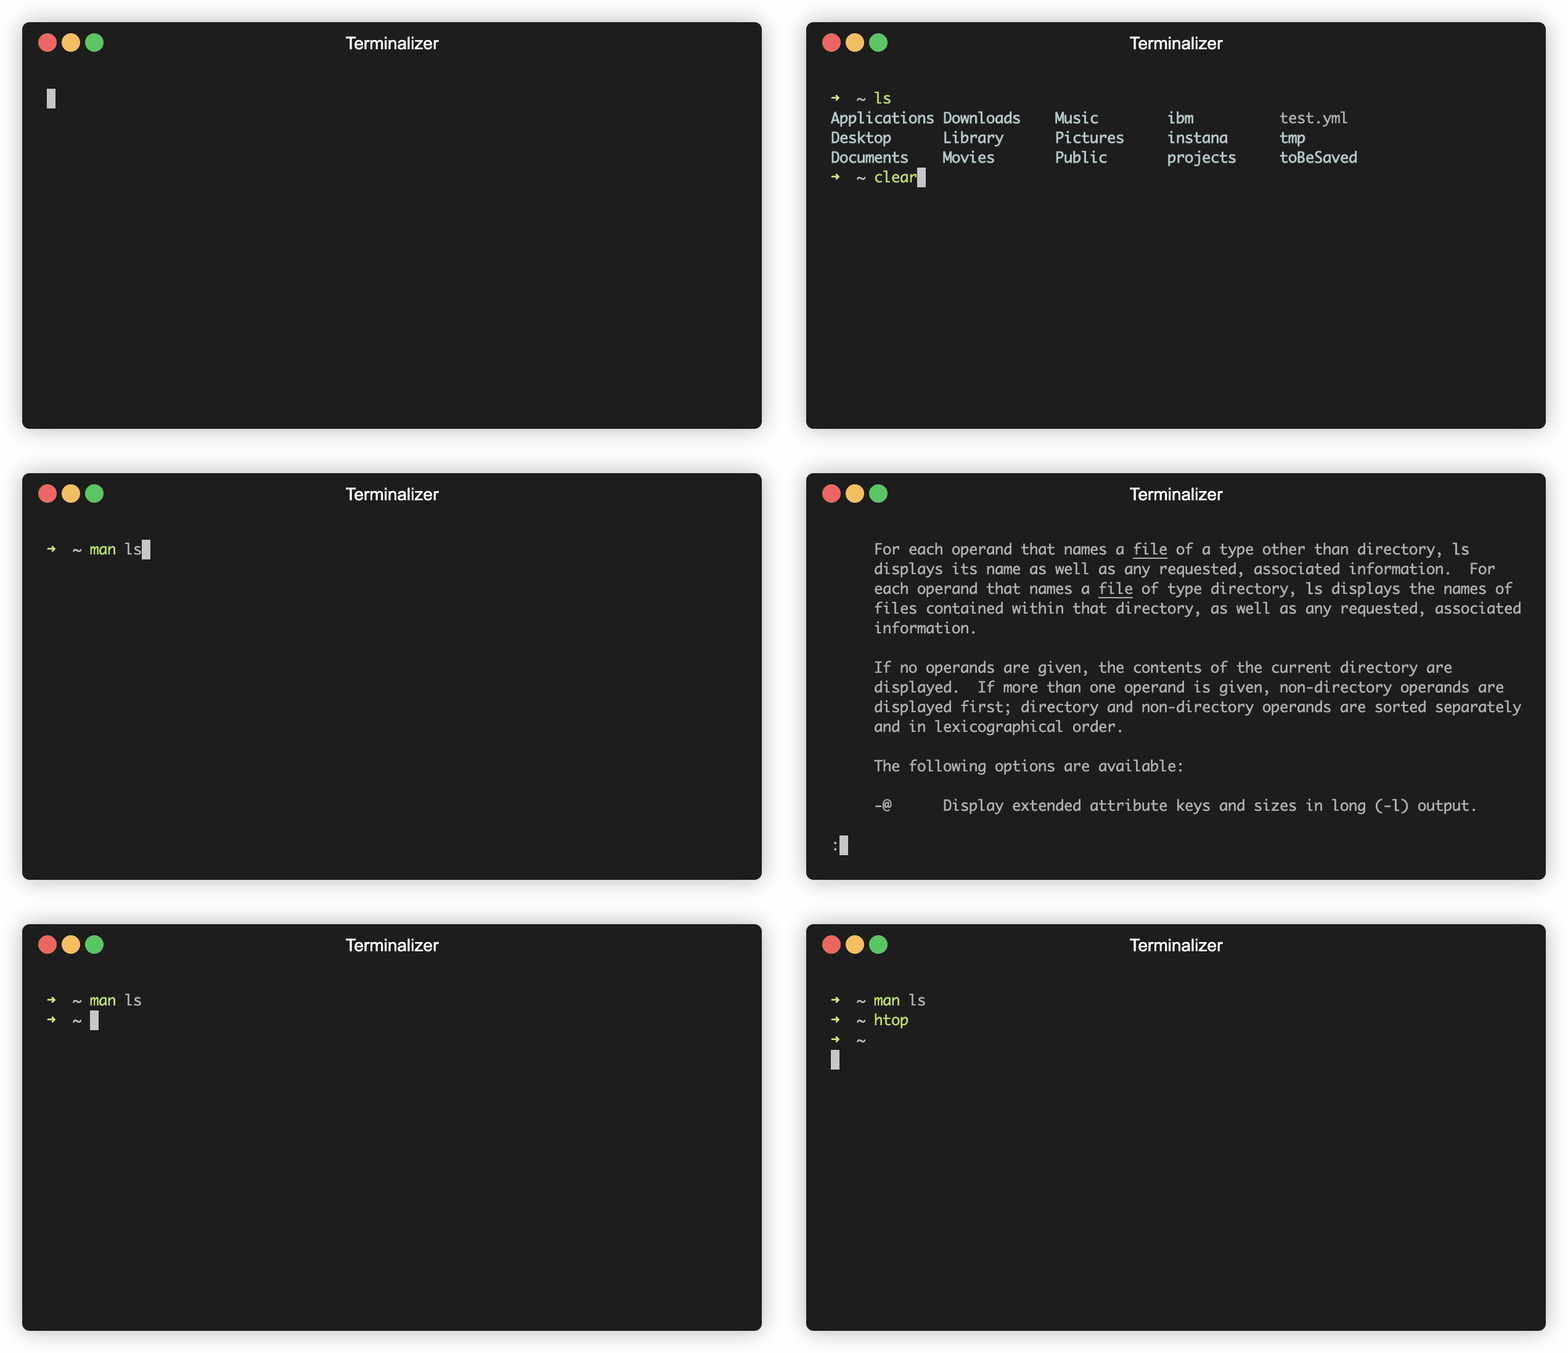
Did you ever want to demo a terminal program or remotely explain a sequence of commands to a friend or colleague? If so, then terminalizer is a tool for you…
 Example recording with terminalizer
Installation
While the installation steps described in the docs are not very detailed. When simply followed them, I ended up with errors. It turned out that Node.js 16 is not yet supported. Consequently, I needed to switch to an older version to run this successfully. Consequently, the following sequence of command did the trick.
1
2
$ nvm use 14
$ npm install -g terminalizer
Next, as a Mac user with oh-my-zsh, I created and edited a config.yaml to run zsh instead of the default bash in the recoreded terminal to effectively get the themese applied in the recording.
1
2
$ terminalizer init
$ vim ~/.terminalizer/config.yaml
Within the config file, set the command from null to zsh.
Because the
ZSH_THEME="agnoster"that I usually use has a minor rendering glitch. In the example above, the more simplistic themeZSH_THEME="robbyrussell"is used instead.
Usage
The commands for basic usage are explained in detailed in its docs. However, the most common commands are the following:
terminalizer record <name>: Started a recording and saves a<name>.yamlfile.terminalizer play <name>: Play a recording in the terminal.terminalizer render <name>: Renders a GIF using the given recording.
In case you ever end up a warning such as
zsh: command not found: terminalizerafter installing and usingterminalizersuccessfully, then check your Node version withnode -v. At the time of writing, there seem to be troubles withv16.13.1, but no issues withv14.17.0.